After a few hours searching / reading blogs to make the Ruby On Rails project work integrated with the Webpack I decided to document the process.
First at all my project was generated at version 5.0.0, now is using ROR 5.1.4 (last stable) and Ruby 2.5.0.
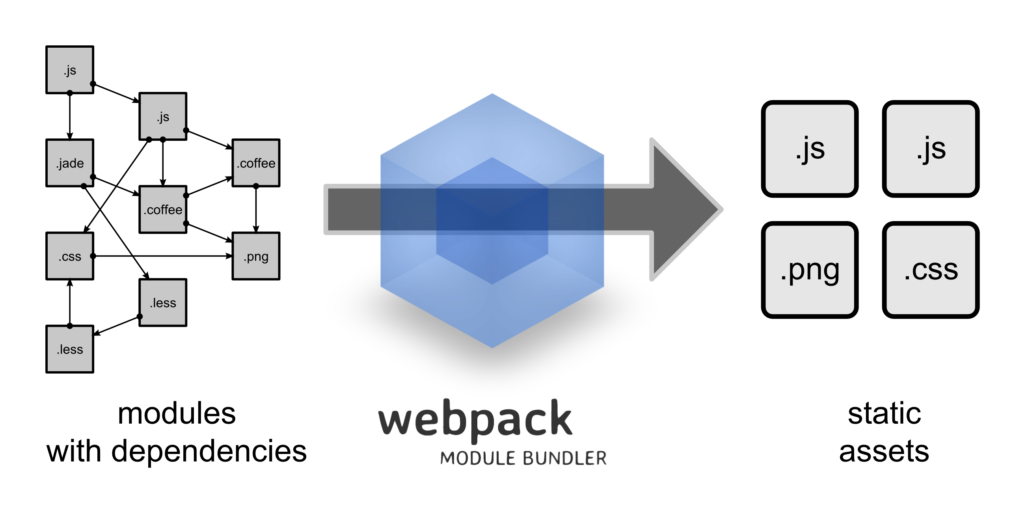
What I’ll show in this post?
- Installing Node.js
- Installing Yard
- Installing Webpacker
- Removing Assets Pipeline
- Configuring Environment files
- Installing Javascript and CSS compilers and transpilers
- Installing Babel ECMAScript 5
- Configuring Webpack to use Babel
- Webpack: Runnig first pack
- Webpack: Resolving older assets
- Webpack: Compiling and transpiling assets
Before start installing Webpack we need to install the requirements (Node.js, Yarn).
Installing Node.js
My machines are running Debian “Strech” (stable), so I’ve need to update Node.js, I installed the newer version of package available on the maintainer’s website
Installing Yarn
Later I installed the Yarn package from maintainer’s website
Installing Webpacker
In Gemfile add Webpacker gem
# Transpile app-like JavaScript. Read more: https://github.com/rails/webpacker
gem 'webpacker', '~> 3.0'
Update Gems
bundle install
Now we can install Webpack at project
bundle exec rails webpacker:install
Running this command will create some files and others will be modified
      create  config/webpacker.yml
Copying webpack core config
      create  config/webpack
      create  config/webpack/development.js
      create  config/webpack/environment.js
      create  config/webpack/production.js
      create  config/webpack/test.js
Copying .postcssrc.yml to app root directory
      create  .postcssrc.yml
Copying .babelrc to app root directory
      create  .babelrc
Creating JavaScript app source directory
      create  app/javascript
      create  app/javascript/packs/application.js
Installing binstubs
      run  bundle binstubs webpacker from "."
Adding configurations
      append  .gitignore
Installing all JavaScript dependencies
      run  yarn add @rails/webpacker coffeescript@1.12.7 from "."
yarn add v1.3.2
info No lockfile found.
[1/4] Resolving packages...
[2/4] Fetching packages...
[3/4] Linking dependencies...
[4/4] Building fresh packages...
success Saved lockfile.
success Saved 620 new dependencies.

[...]

Done in 18.71s.
Installing dev server for live reloading
      run yarn add --dev webpack-dev-server from "."
yarn add v1.3.2
[1/4] Resolving packages...
[2/4] Fetching packages...
[3/4] Linking dependencies...
[4/4] Building fresh packages...
success Saved lockfile.
success Saved 117 new dependencies.

[...]

Done in 5.85s. Webpacker successfully installed 🎉 🍰
Configuring the webpack
Note: Before attempting to run the project you will need to create the webpack configuration file, without this file the application will freeze
At project root create a file called webpack.config.js and add that code
'use strict';

const webpack = require("webpack");

module.exports = {
  context: __dirname + "/app/assets/javascripts",

  entry: {
    application: "./application.js",
  },

  output: {
    path: __dirname + "/public",
    filename: "javascripts/[name].js",
  },
};
Removing the Assets Pipeline
With Webpack providing our new foundation, we can start removing the old asset pipeline.
The Gemfile
Let’s delete some gems used in the past
Comment or delete the following gems from your Gemfile then run bundle
- coffee-rails
- jquery-rails
- sass-rails
- turbolinks
- uglifier
These gems are no longer needed, being replaced or deprecated by Webpack and the Javascript libraries we’ll install later
Configuring Environment files
Now we need to tell Rails to ignore assets in both development.rb and production.rb files at config/environments folder (test.rb will be left untouched)
At config/environments/development.rb
config.assets.debug = false
config.assets.compile = false
config.assets.quiet = true
At config/environments/production.rb
# To serve static files out of the /public directory.
config.public_file_server.enabled = true
# config.assets.js_compressor = :uglifier
# config.assets.css_compressor = :sass
Installing Javascript and CSS compilers and transpilers
After removing jquery we ended up getting in trouble, we get stuck with raw CSS and JavaScript.
Babel ECMAScript 5 (ES5)
First, I really tried to program in CoffeScript but I didn’t like it the syntax.
Babel is the library we’ll use to transpile ES6 to pure Javascript. We can install it with the following command:
yarn add --dev babel-core babel-preset-env babel-polyfill babel-loader
More about the packages you can read at YarnPkg site:
Configuring Webpack to use Babel
After install the packages we need to configure the webpack to use Babel, we’ll do that by adding the loader do the module section in webpack.config.js file.
Add this
    module: {
    loaders: [
      {
        test: /\.js$/,
        exclude: /node_modules/,
        loader: 'babel',
        query: {
          presets: ['env']
        }
      },
    ]
  },
The file must be like this
'use strict';

const webpack = require("webpack");

module.exports = {
  context: __dirname + "/app/assets/javascripts",

  entry: {
    application: "./application.js",
  },

  output: {
    path: __dirname + "/public",
    filename: "javascripts/[name].js",
  },

  module: {
    loaders: [
      {
        test: /\.js$/,
        exclude: /node_modules/,
        loader: 'babel',
        query: {
          presets: ['env']
        }
      },
    ]
  },

};
Webpack: Running first pack
At this point you could test webpack working, add the folling lines to your app/javascript/packs/application.js file and run webpack.
var name = "Fabian";
var place = "Porto Alegre";

`Hello ${name}, ready for ${place}?`;

[1, 2, 3].map(n => n ** 2);
You’ll see it output into pure JavaScript in the public/packs directory
var name = "Fabian";
var place = "Porto Alegre";
"Hello " + name + ", ready for " + place + "?";

[1, 2, 3].map(function (n) {
  return Math.pow(n, 2);
});
Cool, It’s works
Wait!!!
The project we are working on already exists, with it we have many sources (JavaScript and Stylesheet) in the default assets directory app/assets.
How can I use them?
Webpack: Resolving older assets
Now we’ll configure webpack to read older sources from the previous assets directory, at config/webpacker.yml add this:
resolved_paths: ['app/assets']
Just this? Nooooo
After add 'app/assets' to webpacker.yml each file on app/assets you must import in the new application.js at app/javascripts/packs
The file may be like this
import 'javascripts/admin/brands'
import 'javascripts/admin/dashboard'

var name = "Fabian";
var place = "Porto Alegre";

`Hello ${name}, ready for ${place}?`;

[1, 2, 3].map(n => n ** 2);
Webpack: Compiling and Transpiling Assets
After each file modification you’ll need to run the webpack in console to compile/transpile assets.
But to automate this process we’ll pass watch parameter to webpack.
When passing this parameter, the webpack will be watching the files for changes
webpack --watch
Deixe um comentário